
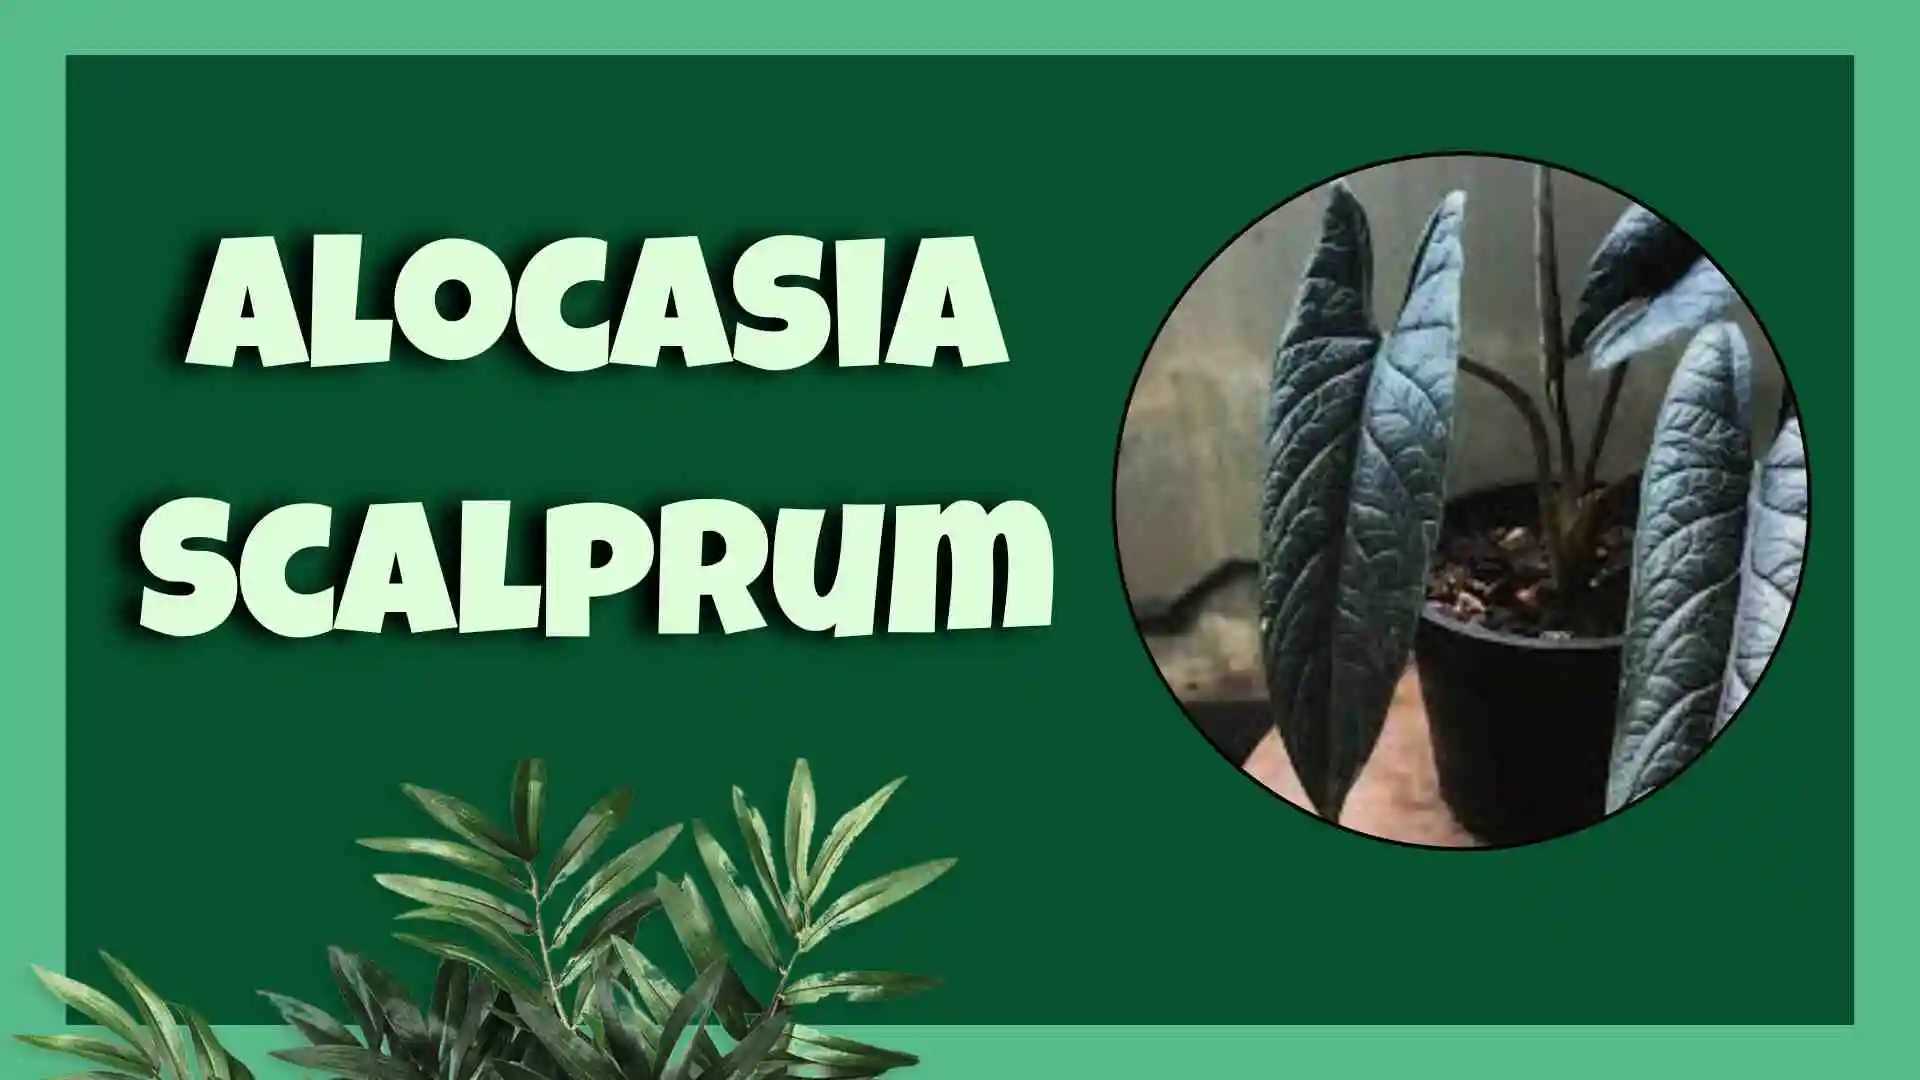
Alocasia with Mirror Face: Jewel Two names for the tropical houseplant Alocasia scalprum, appreciated for its unusual leaves and great beauty, are Alocasia. Its unique glossy shine and leaf pattern give interior settings a great tropical flair. Here is all you need to know about tending Alocasia scalprum: the required light, water, and humidity; the kind of soil; common issues; and more. Let’s go over the specifics of looking after this wonderful plant.
Alocasia Scalprum Care
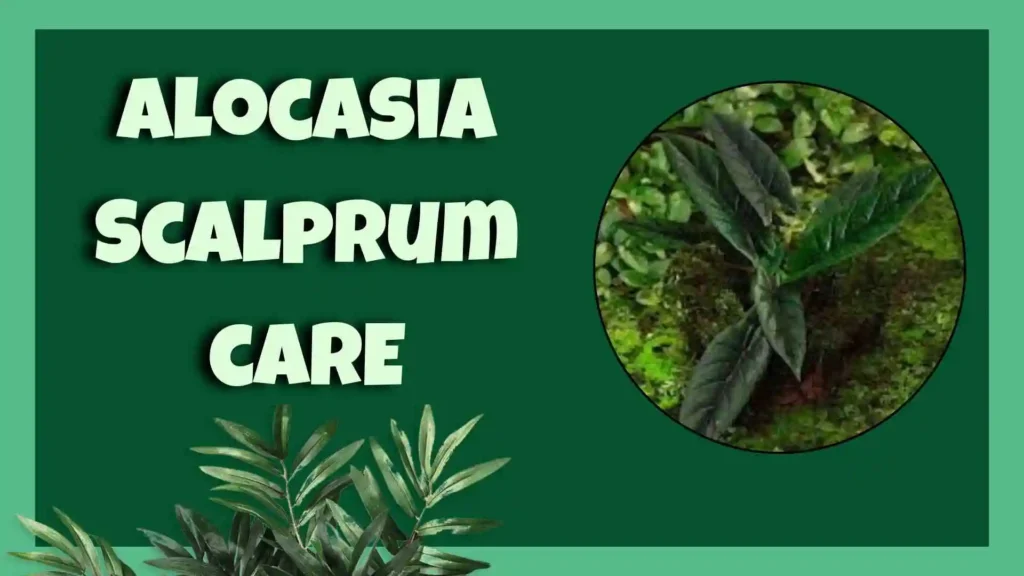
Alocasia scalprum needs a good awareness of its needs first in correct therapy. This is a thorough overview of the components your plant needs for development:
Light Requirements
Strong, indirect light suits Alocasia scalprum. Direct sunlight will scorch its delicate leaves even if it may endure filtered sunlight. Obviously, if the leaves begin to die or display brown tips, the plant is getting too much direct sunshine. Conversely, a plant deprived of enough light may have leggy stems or sluggish growth as it reaches toward the light source.
- Ideal Location: Alocasia scalprum should be placed for optimal light near an east or north window. If you lack such exposure, consider using grow lights—especially in the darker months—to enhance its light requirements.
Watering Needs
The Alocasia scalprum plant care calendar is mostly based on watering. While not waterlogged, this plant enjoys moist soil. These guidelines provide some insight on effective watering:
- Watering Frequency: Keep the top one to two inches of dirt dry before watering. The wetness meter can tell you if you need to water. The spring-to-summer growing season requires more frequent watering. Water less throughout fall and winter when growth stops.
- Signs of Overwatering: Overwatering causes yellowing leaves and mushy stems, which leads to root rot. Make sure your pot drains properly to keep water from accumulating.
Humidity Requirements
Alocasia scalprum is one wet-loving plant. Keeping high humidity as it comes from tropical surroundings determines both its health and brilliance.
- Optimal Humidity Levels: Try to have humidity between 60% and 80%. Low humidity could lead to greater insect sensitivity and browning of the leaves.
Methods to Increase Humidity:
- One can keep a stable humidity level using a humidifier.
- Regular water misting of the leaves may briefly raise humidity. Still, be careful not to overdo it; too much moisture on the leaves could promote fungal growth.
- Moreover, contributing to local humidity are water-filled pebble trays under the plant. The water evaporating adds more moisture to the surrounding air for the plant.
Temperature
Alocasia scalprum enjoys a temperature range best between 65°F and 80°F (18°C – 27°C). Cold and draft sensitivity might be stressing out this tropical plant and hindering its development.
- Keep Away from Cold Drafts: Avoid cold drafts. Avoid placing the plant near cold air-blasting windows, doors, or AC vents. Unexpected temperature changes may cause the plant to droop and threaten its health.
Soil
The composition of soil determines whether or not successful development can occur from the chosen mix. Alocasia scalprum requires a well-draining potting soil with moderate moisture retention without becoming waterlogged.
- Soil Mixture: One fantastic combination is standard potting soil, perlite, and orchid bark used together. This mix allows enough drainage and helps the roots by controlling moisture.
- pH Level: Try for a soil pH between around 6.0 and 7.0, which is just slightly acidic to neutral. pH testing of your soil will help to maintain the correct balance for absorption of nutrients.
Fertilization
Fertilizing your Alocasia scalprum all throughout the growth season can help to encourage robust development and rich foliage.
- Fertilization Schedule: Spread a half-strength diluted balanced, water-soluble fertilizer. Spring through summer, fertilize four to six weeks apart.
- Winter Care: Limit or cease fertilizing the plant going into autumn and winter’s dormant period.
Pruning and Maintenance
Regular pruning of your Alocasia helps to preserve its condition and encourage bushier growth.
- Removing Dead Leaves: Regular plant examination will enable you to identify any yellowing or dead leaves. Cut them at the base to enable good development to get all the required energy.
- Cleaning the Leaves: Use a wet cloth to gently wipe the leaves so that they absorb more light and eliminate dust. Maintaining the cleanliness of the leaves ensures their effective photosynthesis, which is necessary for the whole state of the plant.
10 Advantages of Having an Alocasia Scalprum
Including an Alocasia scalprum within your house garden has various benefits. These ten strong cases should inspire you to consider adding this beautiful plant to your collection:
- Stunning Aesthetic: Any area in your home might attract considerable attention from the remarkable leaf shape and hue of this plant.
- Air Purification: Alocasia scalprum effectively filters indoor air pollutants, thereby enhancing the living circumstances, much as many tropical plants do.
- Low Maintenance: Given specific care needs, it is still within control; this qualifies even for people with less expertise in plant maintenance.
- Humidity Boost: Alocasia scalprum naturally increases humidity in your home, thereby enhancing the condition of other surrounding plants as well as yours.
- Long Lifespan: Good care can assist your Alocasia scalprum to live for many years, therefore beautifying your region for an extended length of time.
- Learning Opportunity: Growing this plant presents a great opportunity for research on tropical plant biology and ecology.
- Versatile Decor: Its odd appearance highlights numerous design philosophies: contemporary, bohemian, and tropical themes all benefit from its presence.
- Propagation Potential: Alocasia scalprum may be easily distributed via offsets or divisions, thereby allowing you to boost your collection without a large investment of money.
- Stress Reduction: Including Alocasia scalprum in your home can assist you to relax and enhance your mental state.
- Conversation Starter: This is a great discussion piece as its distinctive leaves and striking appearance will definitely provoke questions and compliments from your guests.
Indoor Placement and Styling Tips
Correct placement and styling enable you to optimize the beauty and health of your Alocasia scalprum. These concepts will enable your plant to shine in your home:
Optimal Lighting Conditions
Place your Alocasia scalprum in a sunny area to gain indirect light. The plant should preferably be positioned adjacent to a window even though it should avoid any intense, direct sunlight that might damage the leaves. Just basic draperies may help to effectively distribute sunlight.
Grouping with Other Humidity-Loving Plants
Arranging your Alocasia scalprum with other humidity-loving plants like peace lilies, pothos, or ferns creates a tropical wonderland. This helps manage humidity surrounding the plants, thereby preserving their health, and enhances the esthetic appeal as well.
Choosing Decorative Planters
Choose striking pots that match your home design and have drainage holes. Ceramic pots might add style, but terracotta containers let roots breathe.
Seasonal Decor Updates
Add seasonal elements to your plant arrangement to maintain current in your space. Surround your Alocasia scalprum with seasonal décor, such as vibrant spring flowers or holiday-themed decorations, to maintain a lively and bright surroundings.
Propagating Alocasia Scalprum
Alocasia scalprum multiplication is one rewarding aspect of plant upkeep. You propagate this beautiful plant this way really nicely:
Common Propagation Methods
- Offsets: Whether you are dividing or repotting your plant, look for offsets near the base. One might carefully plant these small seedlings on their own.
- Root Division: Should your Alocasia scalprum get large and ungainly, you might divide it rootwise. Carefully remove the plant from its container, separate the root system, and check that every section has at least one healthy leaf.
- Stem Cuttings: For those seeking another approach, consider a healthy cutting with a leaf and a node. Put it in a glass of water until roots develop; then, transfer it to the ground.
Steps for Successful Propagation
- Choose a Healthy Parent Plant: Choose a capable parent plant. Make sure the parent plant is healthy, as successful reproduction depends on this.
- Provide Proper Conditions: Until they get established, keep newly grown plants in a warm, humid environment with indirect light.
- Monitor Soil Moisture: Watch soil moisture; keep it consistently moist but not soggy. Water the clippings if the top layer looks dry to the touch.
Potting and Repotting Alocasia Scalprum
Potting and repotting are crucial tasks ensuring the Alocasia scalprum’s success. This is the effective approach to do it:
Choosing the Right Pot
Select a pot that is one to two inches bigger than the existing one before repotting. To improve soil aeration and decrease water gathering, make sure it has enough drainage holes.
Soil Composition
Pot your Alocasia scale from a well-draining mix. A perfect mixture is standard potting soil, perlite, and orchid bark, as it offers appropriate drainage and moisture retention, hence maintaining the health of the roots.
When to Repot
Repot every one to two years or whenever the Alocasia scalprum roots start to appear from the drainage holes. Two indicators your plant requires repotting are stunted growth or soil moisture retention.
Steps for Repotting
- Prepare Your New Pot: Prepare your fresh pot. Leaving enough area for the root ball, fill it with fresh potting mix.
- Carefully Remove the Plant: First, carefully remove the Alocasia scalprum from its current container, then gently loosen the earth at the roots as needed.
- Inspect the Roots: Search for any broken roots; if necessary, clip them with fresh scissors.
- Replant and Water: Center the plant in the new container, backfill with fresh soil, and then give it careful watering.
Common Pests & Plant Diseases
Like any plant, Alocasia scalprum may fall subject to pests and diseases. Being vigilant will help you to see and handle these issues before they become more severe.
Common Pests
- Spider Mites: As they prefer dry conditions, these minuscule insects known as spider mites might destroy plants. Raising humidity and using insecticidal soap can control them.
- Mealybugs: These white, cottony appearing creatures could compromise your plant. One might treat with neem oil or take them off with an alcohol-soaked cotton swab.
- Scale Insects: Little brown blights on the stems and leaves are scale insects. Either cleaned off with a damp cloth or treated with horticultural oil or insecticidal soap.
Common Diseases
- Root Rot: Usually due to overwatering, root rot browning and withering of the foliage results. Mostly preventing this hinges on making sure the drainage is suitable and adjusting the watering frequency.
- Leaf Spot Disease: Dark areas on the leaves might indicate fungal illnesses, often caused by inadequate air circulation and too much humidity. Cut overhead irrigation and boost circulation to aid with this.
- Powdery Mildew: A fungus, powdery mildew covers leaves in white, powdery form. Maintaining dry leaves will assist in increasing ventilation, thereby preventing it. Should damaged leaves be discovered, remove them and treat with a fungicide.
Common Issues with Alocasia Scalprum
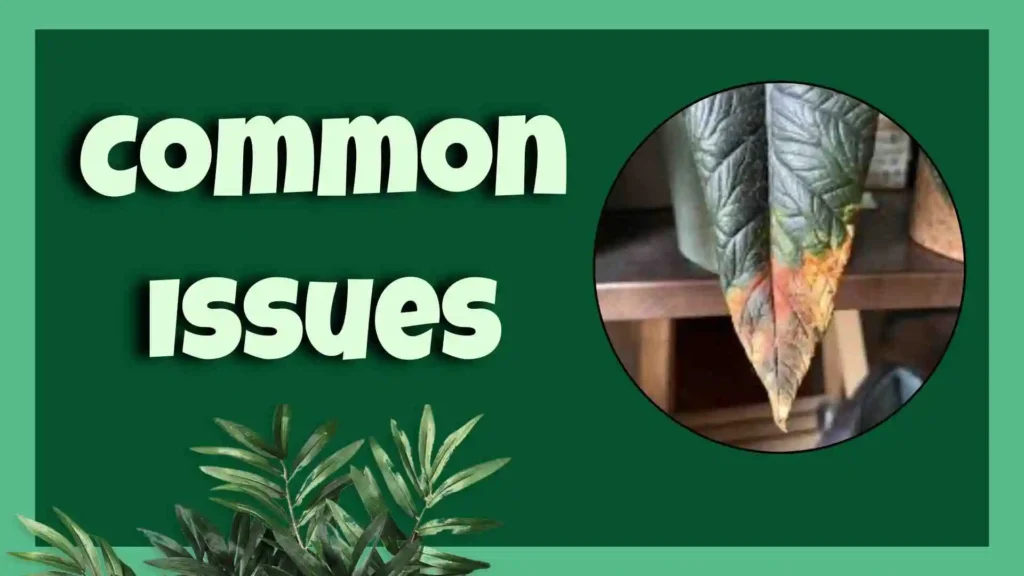
Your Alocasia scalprum could show some problems even with the best of treatment. Here are some often occurring issues and fixes:
Yellowing Leaves
Yellowing leaves might indicate either overwatering or poor nourishment. Revise your watering schedule and consider a balanced fertilizer to aid with recovery.
Drooping Leaves
Drooping leaves might point to underwatering or temperature-related stress. Make sure you water regularly and that the plant falls within a constant temperature range.
Browning Leaf Tips
Either low humidity or over-fertilization might lead to browning of leaf tips. Either spraying the plant or using a pebble tray will assist to increase humidity and lower the frequency of fertilizer treatment.
Leaf Curling
Leaf curling suggests insufficient light or temperature extremes in the leaves. Make sure your plant is receiving adequate light, then design a constant, warm surround.
Alocasia Scalprum: An In-Depth Look
Knowing Alocasia scalprum is about pleasure from its unique features as much as about upkeep.
Unique Features and Characteristics
- Leaf Shape and Texture: This plant’s obvious scalprum leaf shape lends a unique touch to its complete appearance. Their rich, emerald green hue fits very well against the broad, glossy foliage.
- Variegations: The Alocasia scalprum variegated variation is quite well-liked as it accentuates the natural beauty of the plant.
- Growth Size: Any indoor garden should have Alocasia scalprum, as, when grown to full height, it may reach two to three feet.
Origin and Habitat
Originally found in the rich tropical rainforests of Southeast Asia, especially the Philippines, Alocasia scalprum grows well in warm, humid environment. Knowing its native habitat properly helps us to create the environment suitable for good development.
Relevant Names
- Common Names: Jewel Alocasia, Mirror Face
- Scientific Name: Alocasia scalprum
Warning
Calcium oxalate crystals found in Alocasia scalrum might be harmful if consumed. Keep this plant out of reach of small children and dogs; wash your hands after handling to prevent any skin irritation.
Conclusion
Maintaining Alocasia scalprum will be a fulfilling hobby that enriches your interior environment with its tropical charm. Growing a strong, healthy plant requires knowledge of and satisfaction for its specific needs for light, water, humidity, and temperature. If you pay consistent care, plan carefully, and learn about common problems, your Alocasia will bloom for years to come. Accept the pleasure of caring for this peculiar plant and let its amazing presence and thick leaves enhance your living space!
FAQs
Q1: Is Alocasia scalprum toxic?
Yes, it’s toxic if ingested, so it’s important to keep it out of reach of children and pets.
Q2: How often should I water my Alocasia scalprum?
The watering frequency depends on the environment, but generally, you should wait until the top inch of the soil is dry before watering.
Q3: Can Alocasia scalprum tolerate low light?
While it can tolerate some shade, it prefers bright, indirect light for optimal growth.
Q4: What should I do if my Alocasia scalprum has yellow leaves?
Yellow leaves can indicate overwatering or lack of nutrients. Check the watering routine and consider using a balanced fertilizer.
Q5: Is Alocasia scalprum an indoor or outdoor plant?
It can be both. However, it’s more commonly grown indoors due to its specific temperature and light requirements.