
How to Grow and Care for Alocasia Nobilis: The Ultimate Guide
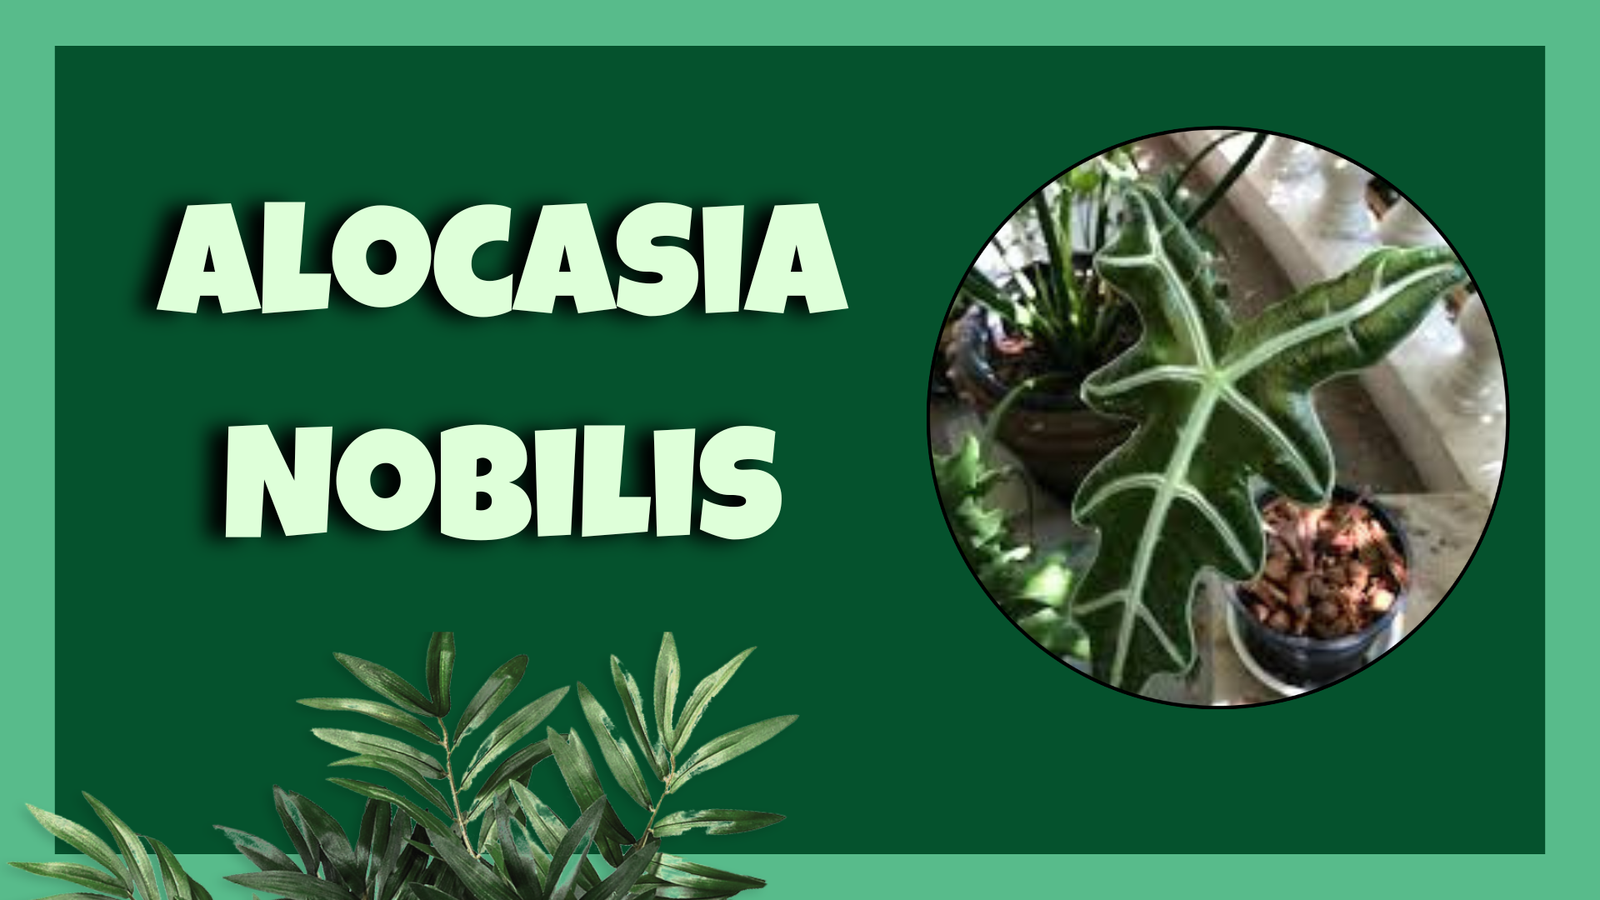
The Alocasia nobilis, often celebrated for its dramatic foliage and impressive stature, is a striking addition to any indoor plant collection. Known for its large, upright leaves with prominent veining, this Alocasia species brings a touch of tropical grandeur to your living space. Native to Southeast Asia, Alocasia nobilis thrives with proper care, offering a rewarding experience for plant enthusiasts. This comprehensive guide provides all the essential information to successfully grow and care for your Alocasia nobilis, ensuring it remains a healthy and vibrant centerpiece in your home.
Alocasia Nobilis Care: Essential Elements for Success
Caring for Alocasia nobilis involves understanding and meeting its specific needs regarding light, watering, humidity, temperature, soil, and fertilization. Attention to these elements ensures robust growth and the plant’s overall well-being.
Light Requirements: Finding the Perfect Balance
Alocasia nobilis thrives in bright, indirect light, mimicking the dappled sunlight it receives under the forest canopy in its native habitat.
- Optimal Light Conditions:
- Bright, Indirect Light: Position your Alocasia nobilis near an east- or north-facing window where it can receive plenty of light without direct sun exposure.
- Filtered Sunlight: If placing near a south- or west-facing window, use a sheer curtain to filter the sunlight and prevent leaf burn.
- Artificial Light: In low-light environments, supplement with a grow light to ensure the plant receives adequate illumination.
- Signs of Light Stress:
- Insufficient Light: Leggy growth, pale leaves, and reduced vigor indicate the plant needs more light.
- Excessive Light: Yellowing leaves, crispy edges, and scorched spots indicate the plant is receiving too much direct sunlight.
Watering Needs: Achieving the Right Moisture Level
Watering is a critical aspect of Alocasia nobilis care. Maintaining the right moisture balance is key to preventing root rot and ensuring healthy growth.
- Watering Frequency:
- Growing Season (Spring and Summer): Water when the top 1-2 inches of soil feels dry. Typically, this means watering once a week, but always check the soil moisture first.
- Dormant Season (Fall and Winter): Reduce watering frequency to every 10-14 days, as the plant’s growth slows down during this time.
- Watering Technique:
- Thorough Soaking: Water the plant thoroughly until excess water drains from the bottom of the pot.
- Drainage: Always allow excess water to drain away to prevent waterlogging.
- Bottom Watering: Consider bottom watering by placing the pot in a tray of water for about 30 minutes, allowing the soil to absorb moisture from the bottom up.
- Water Quality:
- Distilled or Rainwater: These are the best options, as they are free from chemicals and minerals.
- Tap Water: If using tap water, let it sit out overnight to allow chlorine and other chemicals to evaporate.
Humidity Requirements: Recreating a Tropical Environment
As a tropical plant, Alocasia nobilis thrives in high humidity levels. Maintaining adequate humidity is essential for preventing leaf browning and promoting lush growth.
- Ideal Humidity Levels: Aim for humidity levels between 60% and 80%.
- Increasing Humidity:
- Humidifiers: The most effective way to maintain consistent humidity levels, especially in dry indoor environments.
- Pebble Trays: Place a tray filled with pebbles and water beneath the pot. As the water evaporates, it increases the humidity around the plant.
- Misting: Lightly mist the leaves periodically, but avoid over-misting, as this can lead to fungal issues.
- Grouping Plants: Grouping plants together creates a microclimate with higher humidity.
- Bathroom Placement: Bathrooms naturally have higher humidity, making them a suitable spot for Alocasia nobilis.
Temperature Preferences: Ensuring a Comfortable Climate
Temperature stability is crucial for the health of Alocasia nobilis. Sudden fluctuations can stress the plant.
- Ideal Temperature Range: The plant thrives in temperatures between 60°F and 80°F (16°C to 27°C).
- Cold Sensitivity:
- Frost Intolerance: Alocasia nobilis is not frost-resistant and should be protected from temperatures below 50°F (10°C).
- Drafts: Avoid placing the plant near cold drafts from windows or air conditioning vents.
- Heat Sensitivity: Protect the plant from excessive heat sources, such as radiators or direct sunlight.
Soil Quality: Building a Strong Foundation
The right soil mix provides the necessary nutrients and drainage for healthy root growth.
- Best Soil Type: A well-draining potting mix that retains moisture but allows excess water to escape is ideal.
- Creating the Ideal Mix:
- Potting Soil: Use a high-quality, peat-based potting soil.
- Perlite: Add perlite to improve drainage and aeration.
- Orchid Bark: Incorporate orchid bark to create a chunkier mix.
- Coco Coir: Coco coir can be added to improve moisture retention while maintaining good drainage.
- pH Level: Alocasia nobilis prefers a slightly acidic to neutral soil pH, between 5.5 and 7.0.
Fertilization: Feeding Your Alocasia Nobilis
Fertilizing provides essential nutrients for healthy growth and vibrant foliage.
- Fertilization Schedule:
- Growing Season (Spring and Summer): Fertilize every 4-6 weeks with a balanced, water-soluble fertilizer.
- Dormant Season (Fall and Winter): Reduce or stop fertilization, as the plant requires fewer nutrients.
- Fertilizer Type:
- Balanced Fertilizer: Use a 20-20-20 fertilizer diluted to half strength.
- Organic Fertilizers: Compost tea or fish emulsion.
- Application:
- Water-Soluble Fertilizer: Mix the fertilizer with water and apply to the soil.
- Foliar Feeding: Diluted fertilizer can also be applied as a foliar spray.
Common Problems with Alocasia Nobilis: Troubleshooting
Even with careful attention, you may encounter some common issues. Identifying these problems early and taking appropriate action is essential for maintaining the plant’s health.
Yellowing Leaves: Identifying the Causes
- Overwatering:
- Symptoms: Yellowing leaves, especially lower ones, accompanied by wilting or mushy stems.
- Solution: Allow the soil to dry out slightly and ensure good drainage.
- Underwatering:
- Symptoms: Yellowing leaves, especially upper ones, accompanied by dry, brittle foliage.
- Solution: Water thoroughly and adjust the watering schedule.
- Nutrient Deficiency:
- Symptoms: Uniform yellowing of leaves, often with stunted growth.
- Solution: Fertilize with a balanced, water-soluble fertilizer.
- Pest Infestation:
- Symptoms: Yellowing leaves with signs of pests, such as webbing or insects.
- Solution: Identify and treat the pest infestation.
Drooping Leaves: Restoring Vitality
- Underwatering:
- Symptoms: Drooping leaves that feel dry to the touch, accompanied by dry soil.
- Solution: Water thoroughly.
- Overwatering:
- Symptoms: Drooping leaves that feel heavy, accompanied by mushy stems and wet soil.
- Solution: Allow the soil to dry out and improve drainage.
- Cold Temperatures:
- Symptoms: Drooping leaves, especially if exposed to cold drafts.
- Solution: Move the plant to a warmer location.
- Environmental Stress:
- Symptoms: Drooping leaves after a recent move or repotting.
- Solution: Provide consistent care and avoid further stress.
Browning Leaf Tips: Addressing the Issue
- Low Humidity:
- Symptoms: Browning leaf tips and edges, often with dry, crispy foliage.
- Solution: Increase humidity.
- Over-Fertilization:
- Symptoms: Browning leaf tips and edges, with white crusty buildup on the soil surface.
- Solution: Flush the soil with water and reduce fertilization frequency.
- Tap Water:
- Symptoms: Browning leaf tips due to sensitivity to chemicals in tap water.
- Solution: Use distilled or rainwater.
Pest Infestations: Prevention and Treatment
- Spider Mites:
- Identification: Tiny, spider-like pests that create webs on the undersides of leaves.
- Treatment: Wash leaves with a strong stream of water and apply insecticidal soap or neem oil.
- Mealybugs:
- Identification: White, cottony pests on stems and undersides of leaves.
- Treatment: Remove with a cotton swab dipped in rubbing alcohol and apply insecticidal soap or neem oil.
- Aphids:
- Identification: Small, soft-bodied insects on new growth.
- Treatment: Rinse with water and apply insecticidal soap or neem oil.
Root Rot: Prevention and Action
- Symptoms: Yellowing leaves, wilting, stunted growth, and mushy, brown roots.
- Prevention: Use well-draining soil and avoid overwatering.
- Treatment: Remove the plant from its pot, trim away rotten roots, repot in fresh soil, and apply a fungicide.
Potting and Repotting Alocasia Nobilis
- Choosing the Right Pot: Select a pot that is 1-2 inches larger in diameter than the current one, with good drainage.
- Repotting Frequency: Repot every 1-2 years or when the plant becomes root-bound.
- Potting Mix: Use a well-draining mix suitable for tropical plants.
Conclusion: Cultivating a Thriving Alocasia Nobilis
The Alocasia nobilis is a magnificent plant that can thrive indoors with the right care. By providing adequate light, proper watering, high humidity, stable temperatures, and a well-draining soil mix, you can ensure your Alocasia nobilis remains a healthy and vibrant centerpiece in your home. Regular monitoring for pests and diseases, along with prompt action when issues arise, will help keep your plant in optimal condition. Embrace the beauty and grandeur of the Alocasia nobilis, and enjoy the rewarding experience of nurturing this stunning tropical gem.